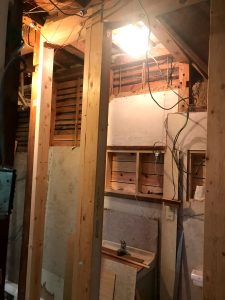
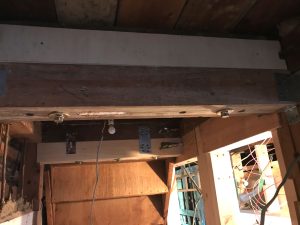
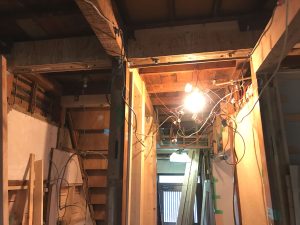
トイレの扉が古いもので低くて今の規格に替えると階段が干渉してしまいます。
不恰好なのとちょっと危険だと思い、既存の柱と入れ替え今の枠外幅650mmの規格が入るように変更しました。
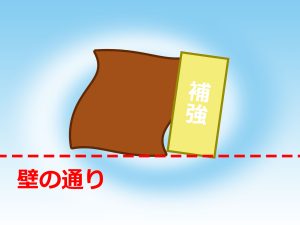
これに乗じて梁も補強しました。
しかしながら前回で終わりのつもりがミスして梁に亀裂を走らせてしまい、対応のため急遽ホームセンターに走り追加の材料を購入してきました。
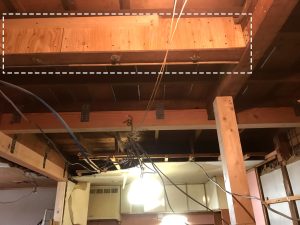
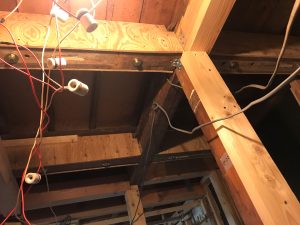
とにかく既存梁のジョイントまで受け梁を延長させます。

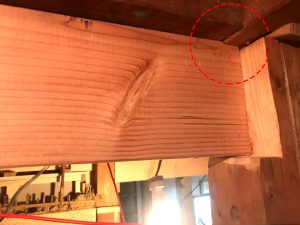
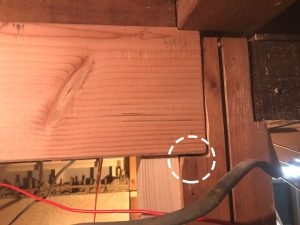
問題箇所
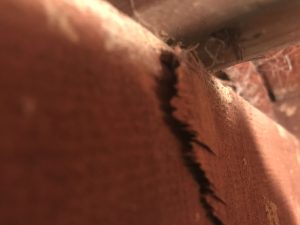
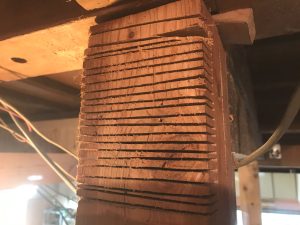
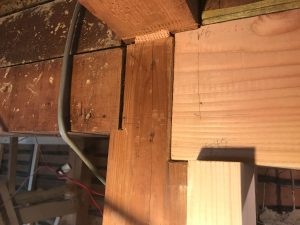
先ずやっちまった箇所を確認します。
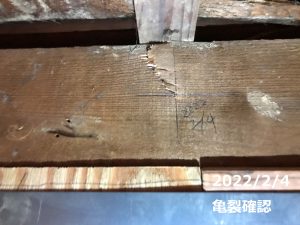
目視確認では表面に亀裂が入っているように見えます。
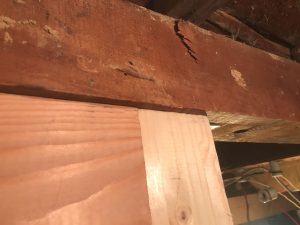
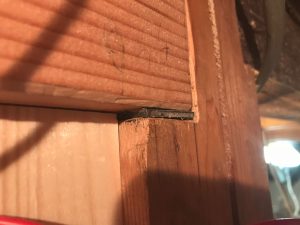
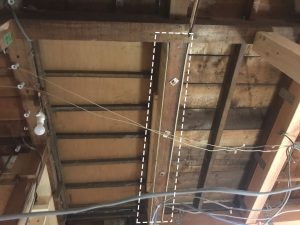
亀裂をズームアップ!!
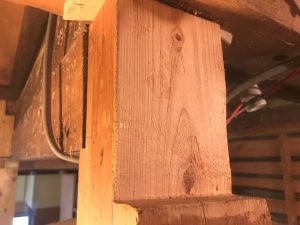
手で梁の天端を触って確認すると亀裂は無いようでした。
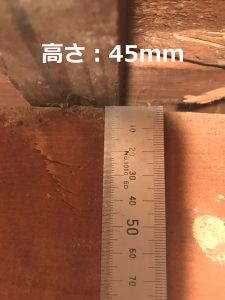
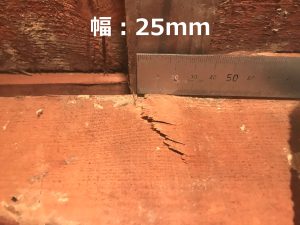
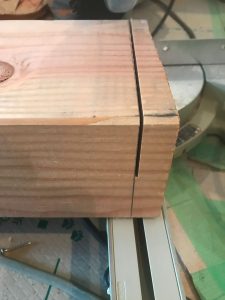
亀裂の寸法を確認しておきます。
H45mm x W25mm
亀裂によるダメージは比較的少なかったようですが梁の全容が確認できた訳ではないし万が一もあります。
いや、そう思いたいんだ・・・どうやら確証バイアスがかかっているようです。
証拠が不十分なのに思いたい方へ思おうとしています。
施工方法もよろしく無かったと思いますので予定通り補強を行いたいと思います。
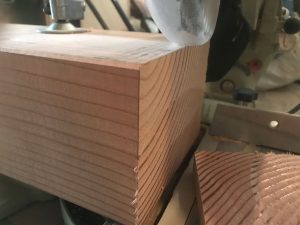
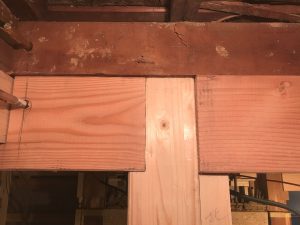
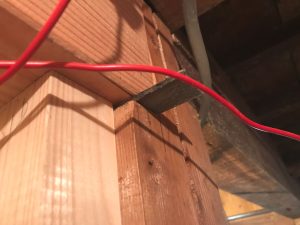
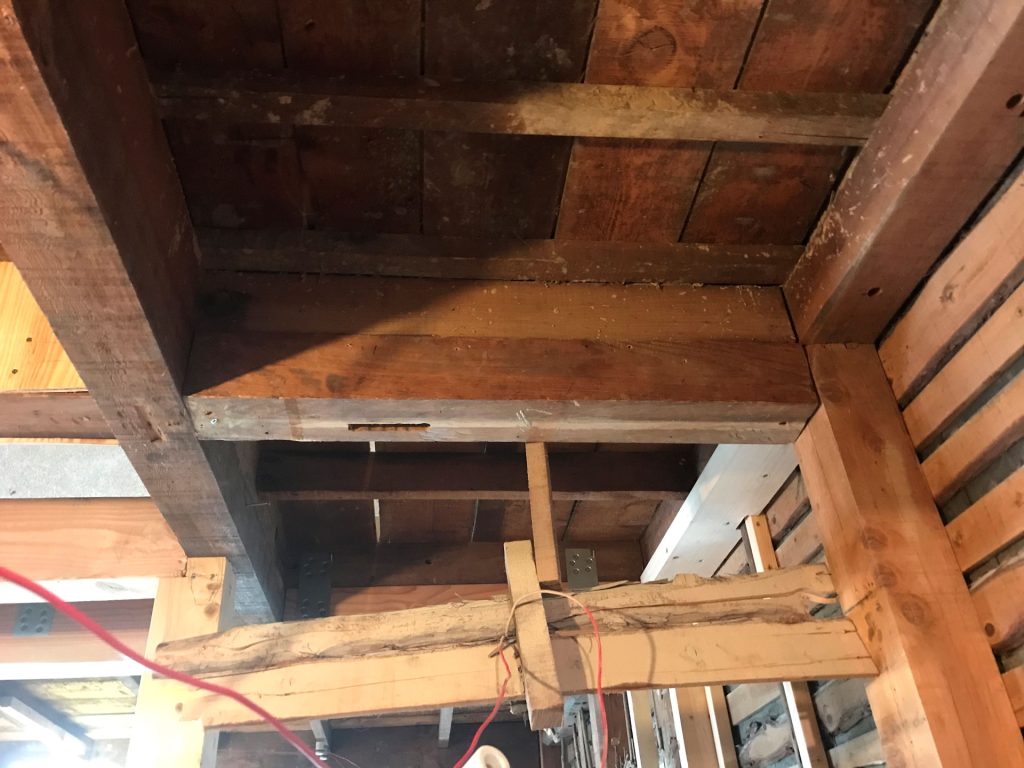
既存柱に欠き込み
梁を延長する終端を欠き込みます。
丸ノコで切り込みを入れて掘って完成。
切り込み入れて
割って
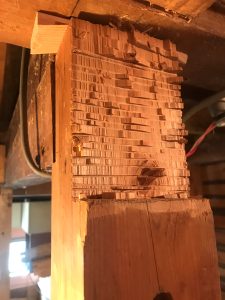
掘る
延長受け梁をカット
丁度寸法ギリギリの梁用端材がありましたので
採寸後カット
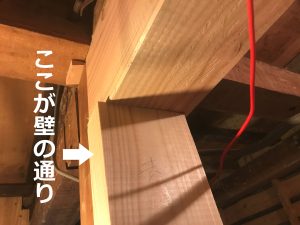
上部に薄い切り欠きを入れます、これは
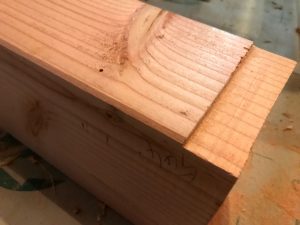
ここです。
一応ガッチリ入りました。
ジャッキアップ
と、言っても上げ過ぎない様に注意!!
目的は既存梁を保護しつつの補強です。
ジャッキアップはこの辺り
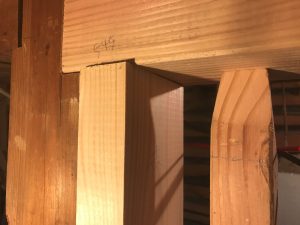
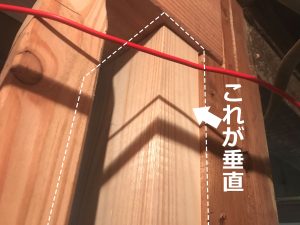
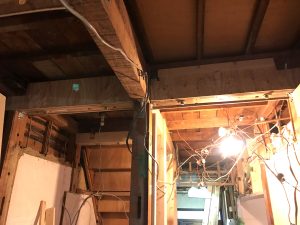
補強材を垂直と通りに合わせて
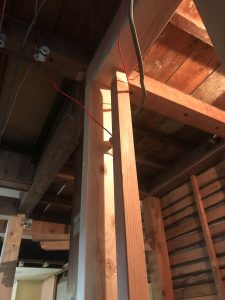
こんな感じですね。
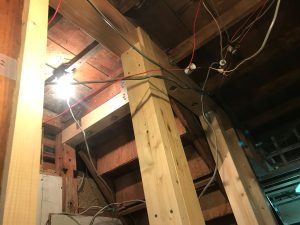
この柱、方向も垂直もメチャクチャだった
ちょっと今までの中でも一番タチが悪いかも・・・
というのは2方向に倒れていますしその角度もかなりです。
2方向8/1000くらいは倒れてます。
そして最もタチが悪いのは
この柱、捻れてます。
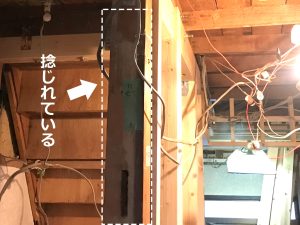
こんな感じで倒れながら右回転で捻れてます。
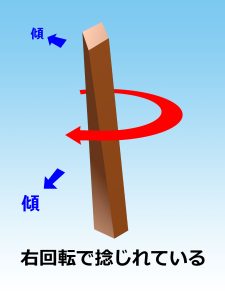
なので補強材も柱にベタ付けすると通りは面でなく点でしか出ません
でも補強目的なので仕方ありません
下地は何とか上手くやることにします。
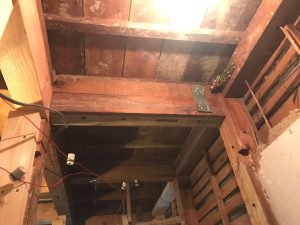
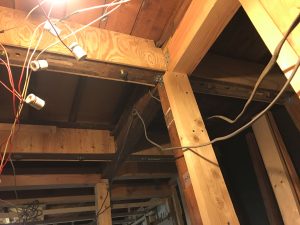
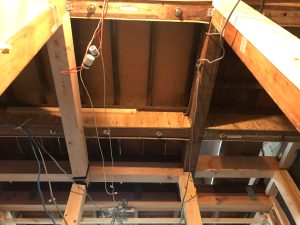
もう1本の補強も入った
両柱に補強がは入ったので一安心です。
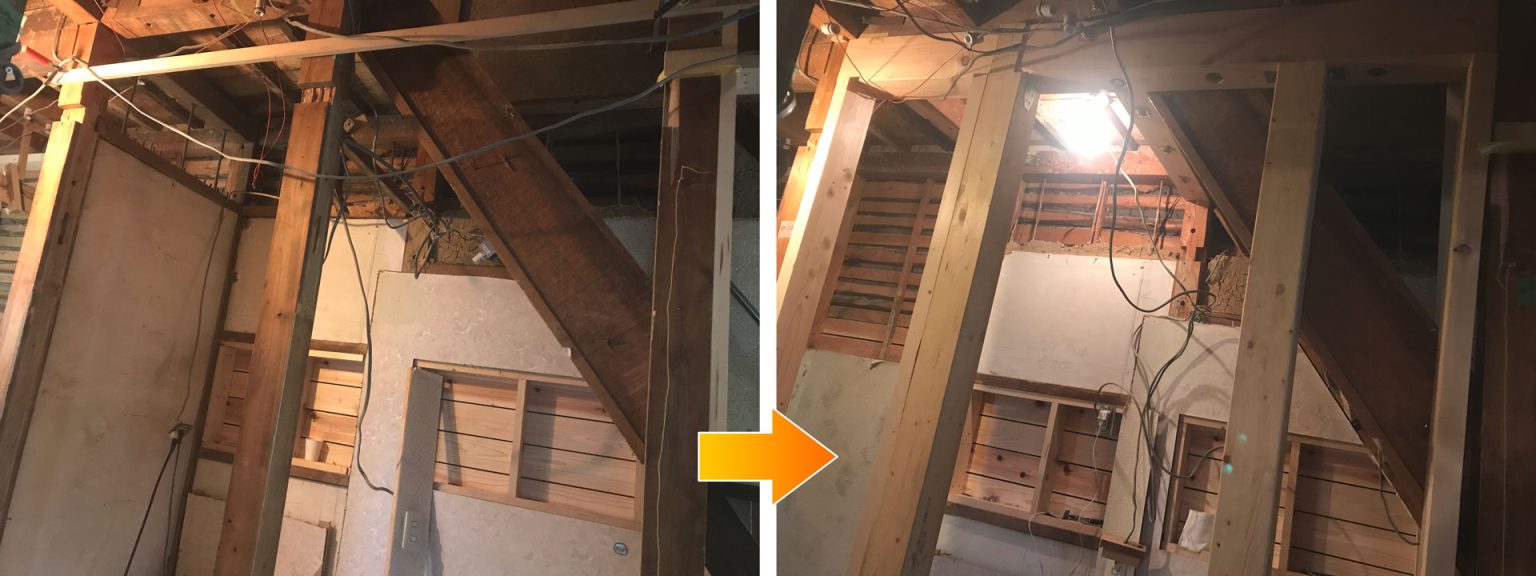
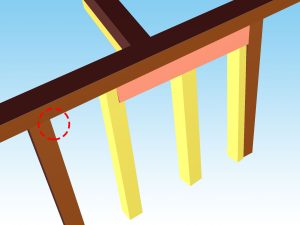
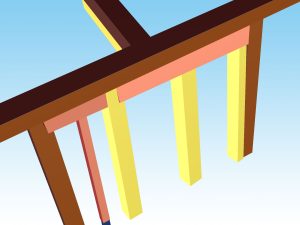
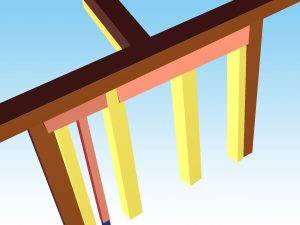
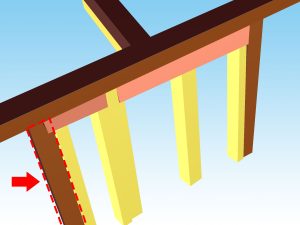
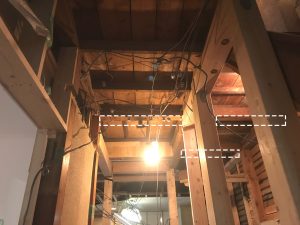
図にするとこんな感じです。
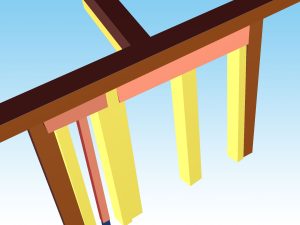
今回追加で補強した部分がコレです。
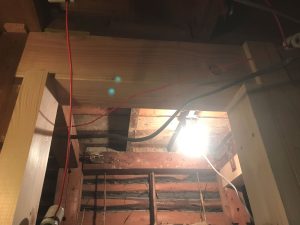
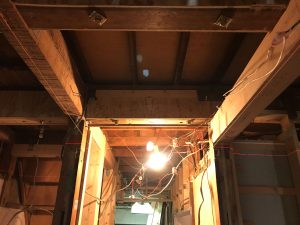
ジャッキを外してこうなりました。

未だ完全には留めつけていませんが一応補強は入りました。
調整
きっちり測ったつもりでしたがジャッキアップしたら数ミリ空いてしまいました。
空きを埋めるためアルミ板をカットして叩き込みました。
これでまぁまぁしっかりしたのではないでしょうか。
ビス留めもしていきます
通りと垂直完了
周辺の梁も補強してやるぞ!!
抜いた柱が余っています。
これを受け梁に有効活用して補強しようと考えています。
まぁそんなにガチガチに補強するというより「有った方がいいだろう」くらいの施工で考えてます。
プロの廃材を利用した補強術
幾分かユルく考えてはいますが有る材料を有効に使って出来るだけの事はやります。
この方法は思いついた訳ではなく大工さんが以前目の前でやってくれたからです。
その仕事がコレ
目の前で見ていました。
プロの仕事をコピー!!
当時見ていた内容と仕事跡からの観察をまとめると
- 抜いた柱から受け梁として切り出した
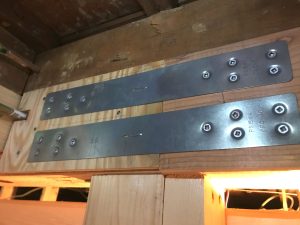
- 切り出した梁の両サイドを金物で留めた
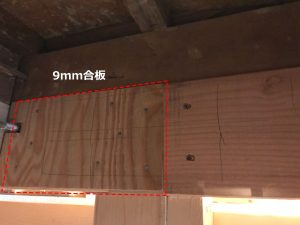
- 9mm合板で両側全面を挟んだ
※金物が干渉する場合は切り欠く
※梁が長くなる場合は複数枚に渡っても構わない - コーチボルトと座金を使用して250〜300ピッチで留めていった
- 合板へ複数本ランダムに釘を打った
と、こんな感じです。
釘の長さが分からなかったので1本抜かしてもらいました。

50mmの釘でした。
角部位の遷移
抜いた柱の良い場所・そうでない場所・それなりの場所ありますが
ここは最優先事項ではなくおまけとして考えていますので最も良い材料でなくても構わないと判断しました。
梁に反りだけ合わせて貫の穴は補修しますのでそのまま使いました。

梁同士に起伏が出た場合、ベニヤなどを挟んで調整して合板を貼りつけました。
貼り付けた合板へランダムに50mmスクリュー釘を釘打ち機は持ってないので手打ちで打ちこみました。
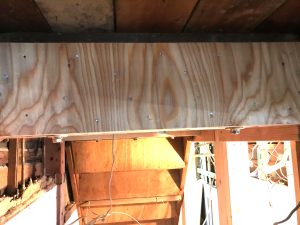
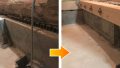
出来た補強梁達はこんな感じです。
少しは強度に貢献できたのではないでしょうか。
色々細かく考えるとややこしくなりますのでここは余り考えずに、これでいいはずと信じます。
後付け補強を本留めする
後付け補強部分を完全に留め付けて決めてしまいます。

曲がっている既存梁を受けないといけなかったので柱と起伏が出来ています。
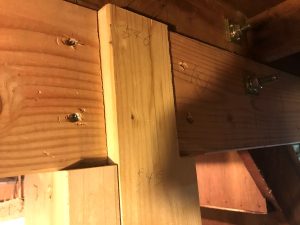
左側の梁(今回追加した梁)に9mmの合板を添えて釘を打って
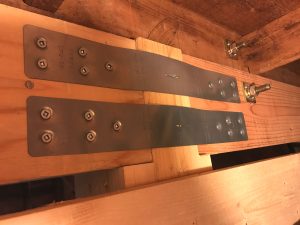
プレート金物を2枚使って繋ぎます。
片面出来上がり。
もう片面
こちらから見ると柱がへこんでいるので5mmのベニヤを貼って
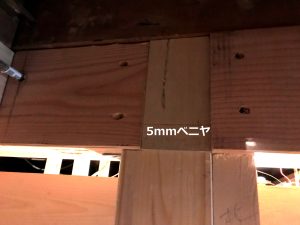
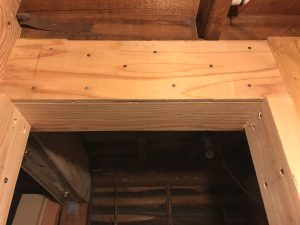
左側(前回施工した梁)の梁に9mm合板を貼り付けます。
これで概ねフラットになりました。
そして同じように2枚のプレート金物で繋ぎました。
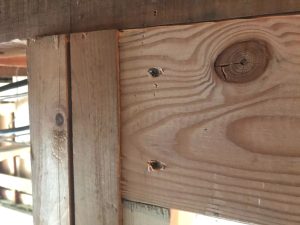
梁に記録しています
亀裂を起こした梁に確認日と亀裂範囲に墨を付けています。
今後この亀裂が広がらないか露出させて今後も観察していきたいと思います。
最後に
今回の柱抜き+梁補強は経験が浅い事と材料をケチった事が相まって亀裂を起こしてしまい
それをフォローするため補強を延長させるという二度手間を起こしてしまいました。
柱と柱の間にどのくらいまで荷重が掛けられるのか分からない状態で初めて柱を抜くという作業をしましたので荷重についてはかなり気を使って作業しました。
結果的にはよい補強ができましたが
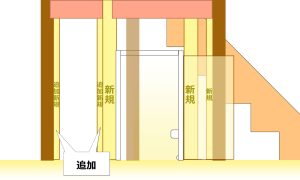
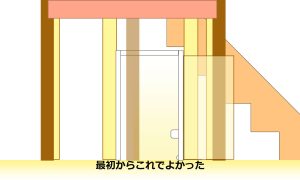
↓ならば最初からこれで良かったという事実
こっちのが早くて綺麗だったはず。というか普通はこうする筈。
但し、梁のスライドは未経験なので怖くてその時やったかどうか・・・
でも、いい経験はさせてもらいました。